HJ DUNHAM
3D Artist / Student
3D artist and student currently studing Game Art at DeMontfort University
![]() It’s the end! I finished up my project today and I am very excited about it!
It’s the end! I finished up my project today and I am very excited about it!
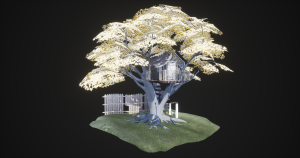
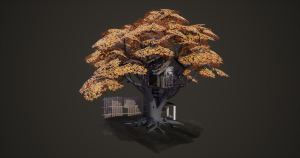
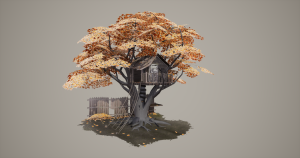
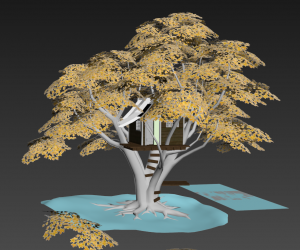
Here are some final renders:
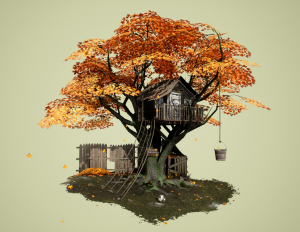
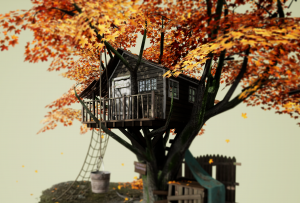
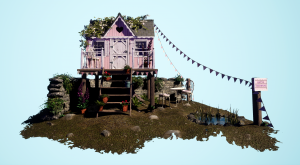
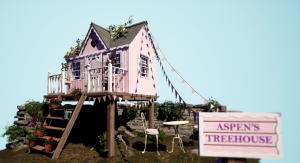
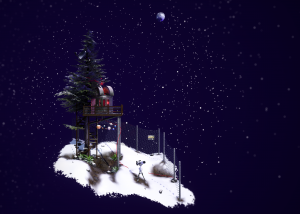
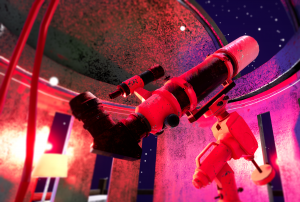
In the end I feel pretty happy with the outcomes. This project ended up being a lot harder than I thought it would be. Finding reference for tree houses that are not giant or newly made proved very hard and so I had to use my imagination a lot during the project which I think resulted in a not so realistic feel to the pieces.
Another note is that I think the trees could have had more work put into them and the layout of the leaves especially in the adventure treehouse but I found I couldn’t justify spending so long on them when I had so much to do so that was a bit disappointing. If I could have more time to go back to them I would have added more small bunches of leaves to break up the harsh edges that you can see on some of the planes. However I will probably do this for degree show.
One thing I am really pleased with is the overall feel of the pieces. I feel like they represent who I wanted each child to be pretty well and give you a sense of that child. I’m glad I pushed to do all three dioramas despite the time crunch at the end as I feel the third is possibly my best one as it feels the most well rounded. I think a large reason for this is that my workflow was smoothed out and I knew what issues I would be facing in advance so I knew how to account for them quickly.
Another issue I have found reflecting on it is that it was hard to make a lot of the detail readable with the given texture space from both a distance and close up and so because I wanted the main focus to be at the overall look from a distance, close up a few of the textures can look too intense and a bit stylised. However I think that from a distance it works so I am ok with it.
One big thing I learnt from this project is how I like to have my workflow and what I enjoy more than others. For example I enjoy making more hard surface objects than organic and that I really enjoy using substance designer and painter in combination to create layer-able materials that can be reused and added to easily.
I have learnt so much over this project and the last three years and I am excited to see what I can make in the future.
This week was a week of completing tasks I had been postponing for a while.
It started with completing the telescope model and baking and texturing it. While I am glad to have finished it I wish I had more time to texture it as I would have liked to added some logos and stickers to the side and take more time with the edge wear. However as it is just a small prop in the diorama I think spending any more time of it would not be smart.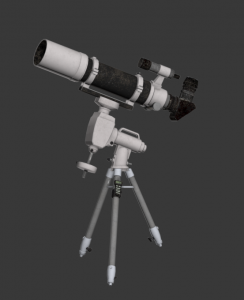
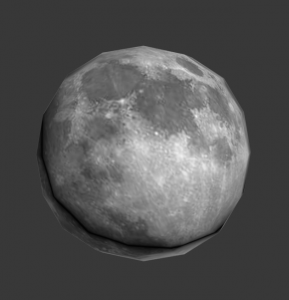
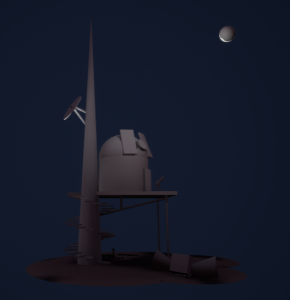
The next thing I made was a moon, this moon is really low poly as it is going to be placed far in the distance in the observatory diorama. To texture it I used an image from online and then cut out a part of it to suit what I needed. I think as it’s going to be seen from far away it works well and was an efficient way of texturing it.
reference: NASA (2018). [image] Available at: https://www.nasa.gov/feature/goddard/rare-full-moon-on-christmas-day [Accessed 14 May 2018].
In addition to this I made some adjustments to the ground in the observatory diorama and I feel it is looking a lot better now. Being able to see the ground through the snow added some depth and interest to the ground. However I do feel the shadows are still too dark and harsh so I need to go in and adjust them. Im also thinking that the light inside the observatory should be red instead of yellow as it would make more sense and also help add some interest to the piece.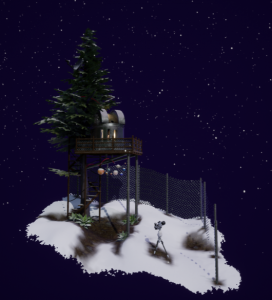
The next job I did was to make and bake some curtains for inside the girly treehouse. I used the cloth modifier to do this and I am actually really pleased with the outcome. From here I used substance painter to texture the baked down version and they add a bit more interest to the house. One thing I possibly would fix in the future is where the band bunches up the curtain as there are some wrong polys in there that make it look a bit too jagged.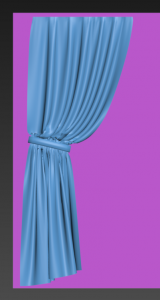
Keeping on the fabric theme I also finally made a high poly fabric piece for the adventure treehouse and baked it down. I made this again using the cloth modifier in 3DS Max and I am really happy with how it came out. 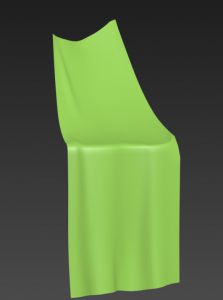
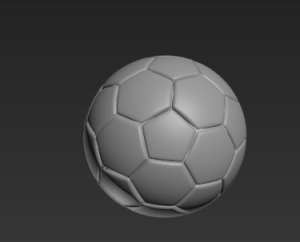
Next thing I did was make two small props for the adventure diorama in order to give it a bit more personality. I made a football (low poly above, high poly below) using modifiers in 3DS Max and then a wooden sword. I textured both in substance painter and really I wish I had had time to make more small props as I really enjoyed the process and I think they came out really well despite having a very small texture space each.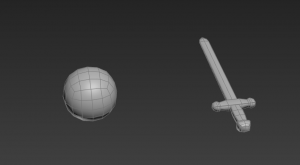
After this I spent some time making some foliage that I could incorporate into all the dioramas. I started with this small plant. I used a photo I personally took in my own garden and then edited it and used it to create alpha planes which I placed into the plant shape. My issue with this plant is that it is too light and washed out and so looks out of place when put into the dioramas so I need to go in and adjust the colours and lightness of it.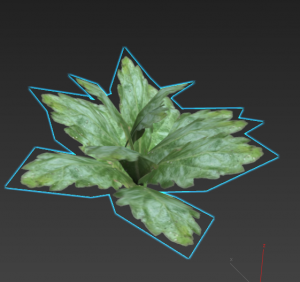
The other plant I made was this bush piece again from a photograph I personally took in my own garden. I made a base using one image and then made strands to give it some shape and interest. I think this is really effective and it works really well in engine to make it look 3D but not too dense and it also looks like the actual bush type.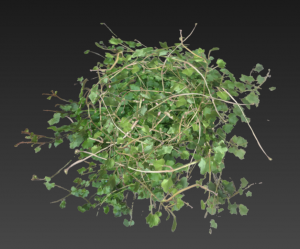
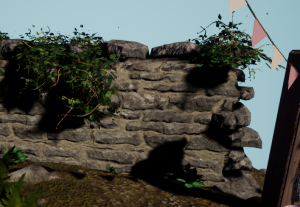
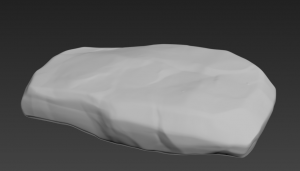
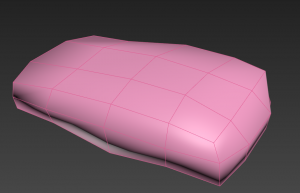
I also decided to solve the problem of the top of the wall by making stone slabs that I could place along the top of it. I made this using a low poly made in max and then Zrushed in the middle level detail. I decided not to sculpt the small detail as the texture I wanted to use has lots of small detail in it. I think it worked pretty well and doesn’t stick out in the scene which is a main thing as I needed it to blend in with the wall as much as it could.
One more adjustment I made was to change the colour of the skybox in the girly diorama in order to make it look brighter and more colourful as well as lighten some of the shadows a bit. I think it looks a lot better as it adds more contrast to the piece.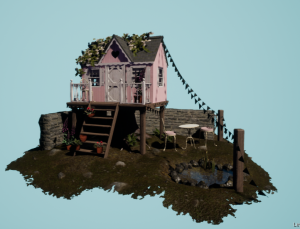
One of the final things I started working on was signs for the treehouses that I could also use as buttons to navigate between the dioramas. I wanted to make them pretty simple but also effective. This is a WIP of the adventure sign, I still need to go into the lettering and add opacity to the grey parts to make it look like worn off paint. I think while simple these signs work well to add a bit more personality to the scene.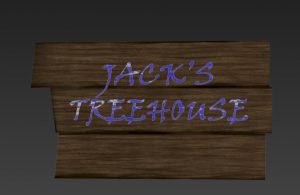
This week brought big changes the science treehouse.
I started off by modelling a few props for the inside of the observatory as you can see inside it and It felt neglected. I just made some low poly simple assets because you cannot get up close to them and they are largely blocked by the telescope. However I think the add to the scene and are easily readable and effective in making it more of a scene than an empty shell of an object.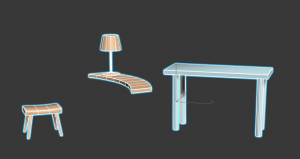
The largest change I made to the scene was to extend the ground. By doing so it balanced out the height of the tree a lot more and creates a better composition. I think this was a good idea (suggested by Heather) as it creates a much better flow for the eye and stops the tree from looking too out of place.
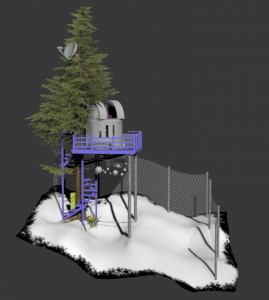
The last change was to add in a fence around the back. This was also to help with the flow of the eye and to create a bit more of a foreground, middle ground and background. It was simply made but really added to the scenes composition. If I were to go back to it I would create some breaks in the fence and more wear to it to make it look more placed within the scene and used.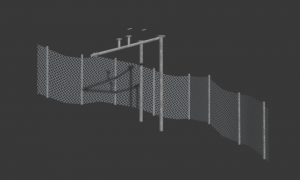
For the girly treehouse I realised that I needed something to break up the water and the stones so I made some high poly reeds and baked them to a plane and textured them and then added a simple wind to them. I think they look pretty realistic if not slightly too thick and rounded but they work in the scene to break that section up.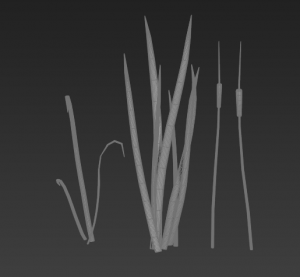
I also spent time making the wall texture in substance painter:
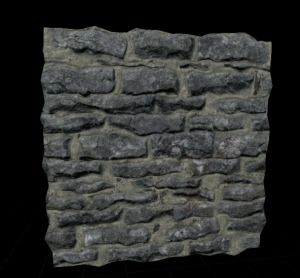
I am really proud of this rock texture and how quickly I was able to make it. I based it off this image: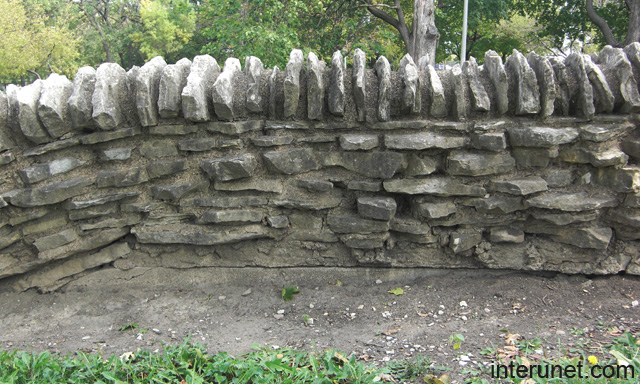
reference: Interunet (2018). stone fence. [image] Available at: http://interunet.com/old-stone-fence-picture [Accessed 10 May 2018].
I made my rocks more saturated than in the reference image though as my dioramas lighting can make things look washed out so I wanted to compensate for that.
I have encountered two problems with the wall however, one is that when I add a height map it makes the top section look jagged and wrong:
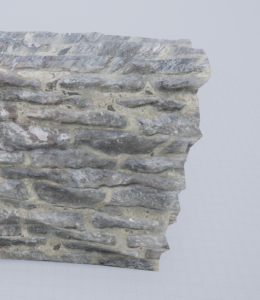
And whenever I model a top section like in the reference it looks too uniform and off so I need to find a way of combatting both those problems.
This week was full steam ahead to get the girly diorama closer to completion.
This started with making some plants for the plant pots. one plant I made was a geranium, I made this by photo bashing images together to get a leaf and flower combination I liked. I think this works pretty well given its simplicity and in the scene it works well. One thing I would like to do it to create different coloured versions of it. and it would have been nice to sculpt and bake it down but I just did not have the time too.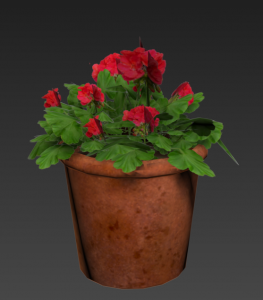
The second plant was a fox glove. The issue I came across with this is that I couldn’t make it using a alpha planes as I normally would so I took the time to model the flowers using a simple four sided cylinder. I think it looks really good even though it was hand painted for the texture. However I do think it could have been optimised better.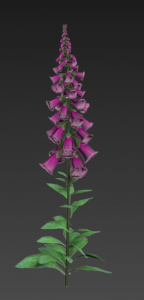
Next was a medium level prop of the table and chairs. I wanted to create some quaint but simple iron style furniture and so this is the low poly models for them. I wish I had more time to make them a bit more elaborate but given the time I think they are effective and work within the scene to add some scale.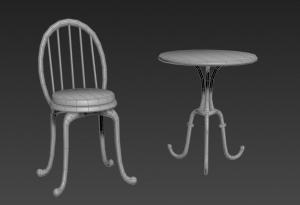
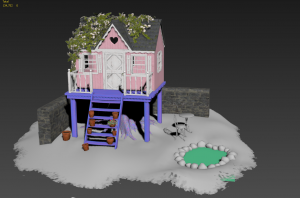
This is the point in which the scene is at in 3DS Max but within engine it looks more filled out but I think the changes I did make this week really helped to fill it out. 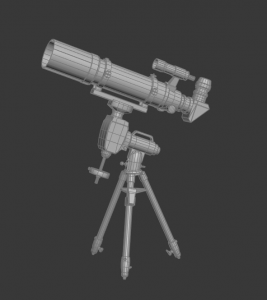
The other item I worked on was the telescope. I finished modelling it and started to unwrap it which became quite time consuming but I think it looks pretty good and close to the reference I had. Unfortunately there were some details I had to leave off due to time and poly constraints but in the future I would really like to create a really detailed high poly and bake all those details down.

reference: F1 telescopes (2018). [image] Available at: https://www.f1telescopes.co.uk/shop/telescopes/skywatcher-telescopes/skywatcher-startravel/sky-watcher-startravel-150-eq5-refractor-telescope/ [Accessed 12 May 2018].
After my presentation last week I was alerted to the fact that I needed to get this diorama done quickly or cut it out of the project. I really do not want to cut it and so this week was all about pushing to get it done both quickly and well. I started off by texturing what I had already made mainly using adjusted textures from the previous dioramas. This meant that process was pretty quick and painless and I think the house looks pretty accurate to the reference image.
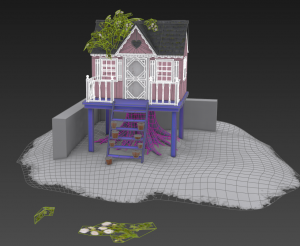
The other thing I focused on was getting the tree trunk under the house modelled and completed. I did this by sculpting the trunk in zbrush and then manually re-topping in topogun. I really like the outcome and I think it really looks like an old tree trunk. 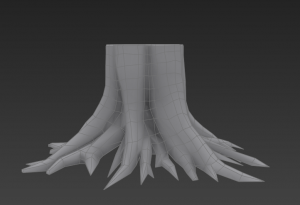
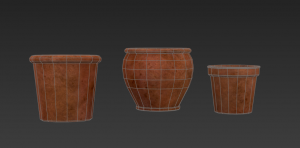
As I knew I wanted to make some plants for this scene I decided to make some simple pots, I made three variations. I like how they came out only problem with them is that there is a large texture seam at the back that I couldn’t paint out in painter due to it being from the base gradient in the material. However if placed smartly this shouldn’t be an issue.
After this I did some engine work in which I created a spline system for some bunting, the set up can be seen here:
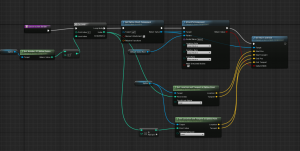
I think this was the most efficient way of doing this as I can now place it wherever I wish to.
In addition to this I made a water shader:
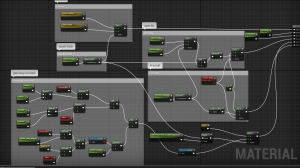
I don’t think it looks quite right yet though as previously I have only made water for much larger scenes and so the colouring needs to be worked on and the depth fade needs to be much weaker. But if I make these changes I think it will be effective.
This is where the scene is at to at this point, I think its getting there. I want to darken the shadows on the house so possibly change the lighting angles in order to make it look a bit more realistic. I also think the colours of the plants need some adjusting as well as the being re-done due to it looking too uniform and not big enough. However I think the bunting works well to balance out the scene and the water adds another layer of interest.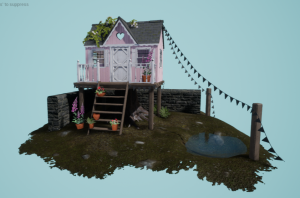
This week was spent focusing on the Girly Treehouse.
I started off by creating a whitebox in engine and getting the skysphere done. I decided to go with a blue background for now as I want it to feel very light and there will be lots of pink, white and green in the rest of it.
I wanted to keep the design of this one quite simple and low as the other two have been much more vertical.
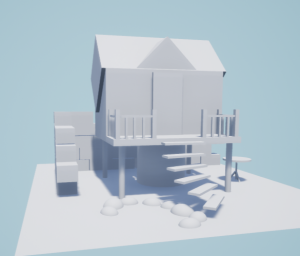
From there I decided to focus on modelling the house so that I have the focus of the piece out of the way.
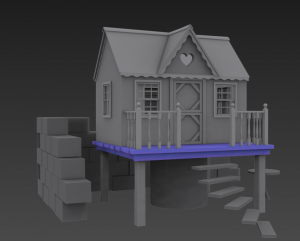
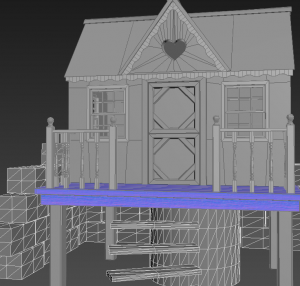
In addition to this I have spent time re-doing one of my textures in order for it to look a bit better and also blend easier.
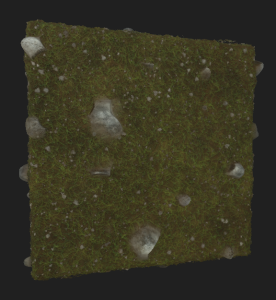
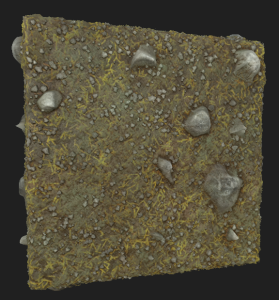
This texture will be used in both the adventurers and the science treehouse. I made it using a tutorial in substance designer and then blended it with the grass I had made previously.
One final thing I have done is start to make some posters for the treehouses in order to make them look a bit more lived in and personal. This is the start of the first one.
O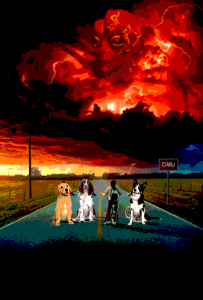
Easter! what should have been lots of work but turned into a holiday.
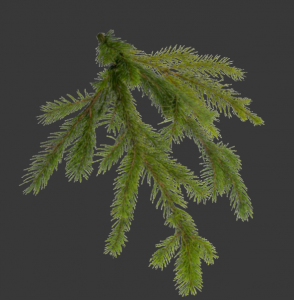
However I did get some important things done over the three weeks. The main thing I did was create and place all the leaves on the tree. I made the leaves by editing a photo and then putting it into b2m. I am pretty pleased with the outcome. This was the original image. I straitened it out using the puppet warp tool and then hue shifted the image.
.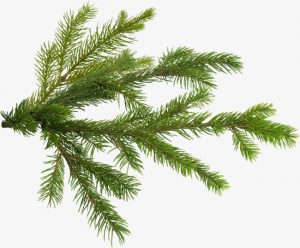
pngtree (2018). pinetree. [image] Available at: https://pngtree.com/so/pine-branches [Accessed 1 Apr. 2018].
This was the result:
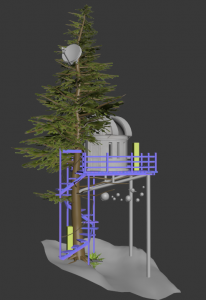
In addition to that I also made a few other assets such as the planets, satelitte dish, fern and telescope.
I made the fern using the same method as the leaves. This is the image I used
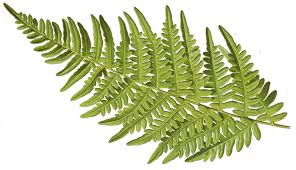 humana-global (2018). [image] Available at: https://www.humana-global.org/pics-of-fern.html [Accessed 17 Apr. 2018].
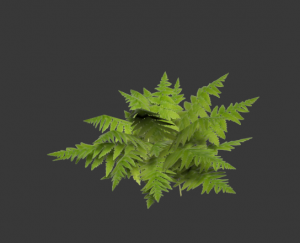
This is the telescope I have been working on. I really wanted to make this an asset I could show off individually so I have probably spent more time than necessary on it but I am happy with the outcome.
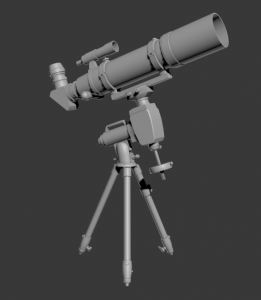
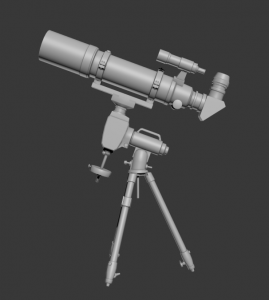
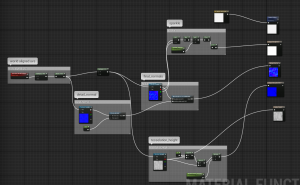
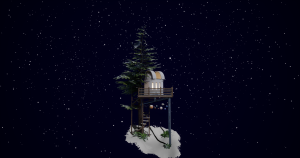
The final large thing I did was to create a snow shader and particle effect. I did this using Mike Picktons tutorial and then made the particle by myself. I am pretty happy with the outcome.
This week I felt a bit burnt out and so was not as productive as I would have liked but I feel like its getting somewhere. One of the things I did was work out how I wanted to make the leaves for this diorama. I decided to use b2m with an image I found online (will be referenced fully next week).
As well as this I made some changes to the platform by adding supports underneath and also adding the fence around it.
I also took the time to add details to the observatory and texture everything. I think its looking a lot better now.
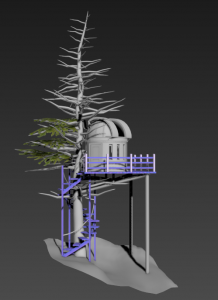
Week 8 has rolled around and it was a busy one.
We had to do presentations this week and so part of my focus was on that however this did push me to tidy some of my work up and also to make sure I had some renders and things like that.
After the presentation I used the rest of the week to work on the science treehouse. I started off by making the mood board and whitebox. While this was quite rough it gave me the idea of where I wanted to go.
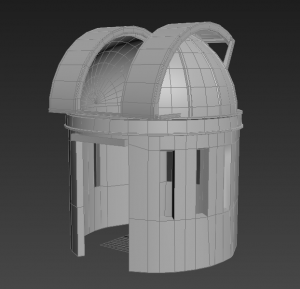
I decided to start with the observatory as I knew it would be made of difficult shapes.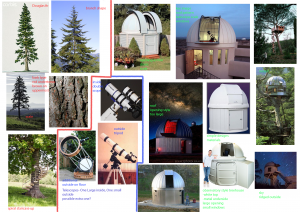
This week was a good week for me. I finally felt motivated and a bit more positive about where my project was going.
I started off the week by doing some jobs I had been putting off such as texturing the rope, adding padding to the leaves, placing individual leaves in my scene and making the underside of the smaller platform as well as making the bucket and rope so I can animate them in the future. These all went pretty smoothly and I found myself getting in the rhythm of things a bit more.
From there I decided to finally finish the bark. I have attempted the bark a few times but none have been successful as they either didnt look like bark at all or looked like the wrong type of bark.
One probem I found was that finding reference for silver maple bark was pretty hard but I finally decided on this reference image:
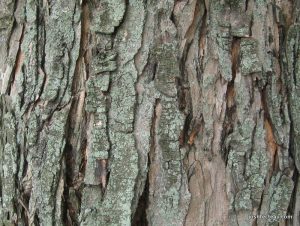
FECTEAU, J. (2018). silver maple tree bark. [image] Available at: http://joshfecteau.com/meet-the-maples-silver-maple/ [Accessed 24 Feb. 2018].
This was my outcome:
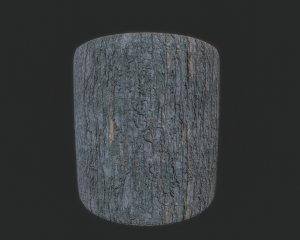 I would have liked to of spent more time on it but I found that I was rapidly running out of time so I decided to just move on.
I also made a variant of this with moss over it which I vertex painted on in engine. This is where I am up to with this diorama. There are many things I would like to add such as the fabric and some props to make it feel more used and mud on the ground and possibly grass and rocks as well as changing the lighting but I will have to do so in my spare time.
I also changed the lighting a bit in order to make it a bit brighter and more saturated however I think I need to revise it again. While doing this I also played around with the skybox colour quite a bit and decided on this pale green as I feel it stops it looking so brown and washed out.
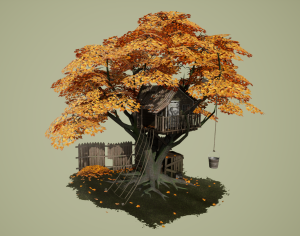
This week felt a bit slow but I got some things I have been meaning to do done.
The first thing I decided to tackle was the lighting. I had had large problems with the lighting in the scene with it either being too bright or too dark so I spent some time trying to fix it properly. I am still not happy with the final outcome but I feel it will do for now and once I have had some proper feedback I will come back to it.
The other things I did this week was make the climbing rope which i decided to model rather than do as an alpha to give it a bit more shape from every angle and also in order to save space on my alpha sheets as they are running out of space. I also figured I could re-use the rope texture elsewhere.
In addition to this I also made the fence at the back in order to hopefully help the flow of the piece a bit more.
Next thing I did was add the alpha on the ground in order to get rid of the harsh line around it. I feel this worked pretty well and I am happy with the way it looks.
Another Thing that I did that I feel helped the scene a lot was add subsurface scattering to the underside of the leaves in order to get them looking shadowed a bit more.
So this week felt pretty unproductive for me but I spent time doing things i had been putting off.
The main thing I did was create the leaves for the tree. I did this by taking a photo (not mine unfortunately as it is winter here and therefore impossible to find an silver maple leaf) and then I adjusted it in photoshop and made some variations of it and then placed it onto a branch I had modelled and baked down. This was the outcome: 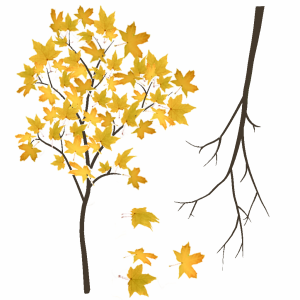
The branch is a solid colour right now as I want to apply my own bark texture to it when it is completed. I also want to add some leaves to the branch on the right in the future.
Also this week I gave the plinth some shape and applied my grass texture to it, textured the trim for the house, created the second smaller platform for the side and thinned out the tree to make it look more realistic and less blobby as recommended by Mike Pickton. All this can be seen below:
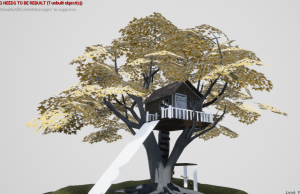
One major problem I have encountered is that the lighting in my scene is not working and so I desperately need to overhaul it and possibly adjust the skybox too to fit it more.
This week was time to re-top my tree and get it into engine as well as create a grass texture and make small adjustments to the scene such as changing the wood colour on the house and making sure things were unwrapped correctly.
I started the week by re-topping the tree- this ended up taking a day and a bit due to having the roots and such there too. However I am happy that I took the time to do so as it looks so much better than the z-brush low poly version. I am considering that it is slightly too low poly right now but I can easily go back and add more in once I have placed the leaves in. This is how it looks in max right now:
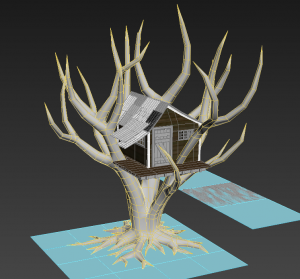
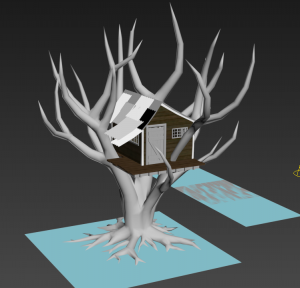
This was also my first week with Mike as my Primary tutor and he gave me some feedback on making the roof make a bit more sense by extending it and also going back and thinning some of the branches out more to make them look more natural. He also showed me how to use vertex colour to change the colour on the roof more.
The other thing I focused on this week was creating a grass texture. I did this in substance designer and I am actually really happy with how it came out. Once I have it in engine and blend between a dirt texture I think it will be really effective.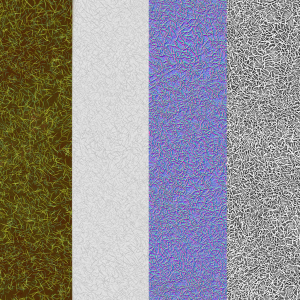
I am relieved it it finally starting to look like something but I feel very behind of where I should be.
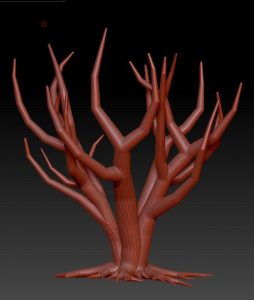
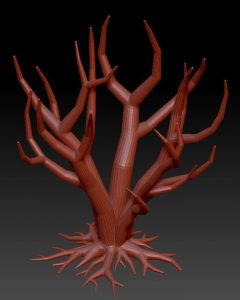
This week felt quite slow and frustrating and I didn’t achieve what I wanted to which is pushing me back more and more. However I did get the tree Zbrush model done as seen below:
I made the tree using zspheres and I originally planned on using z-remesher to get the topology of the low poly. However due to the way the tree splits at the base it would not re-mesh nicely and left me with lots of ‘broken’ sections that I would have had to fix manually so I think next week I am going to spend the time manually re-toping. 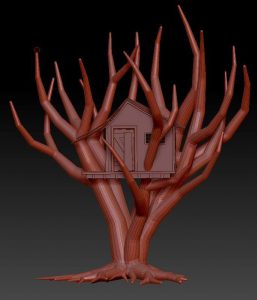
In addition to this I also modelled the trim for the house and made the second wood texture for the house- a painted wood plank. I did this by baking down planks to my wood material and then took it into substance painter and layered things on top. I am not sure what colour I want the paint to be yet and I am considering changing it to a stain instead of paint- I think I will re-visit it when I have the leaves in. 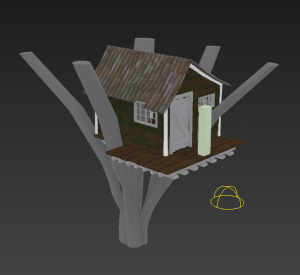

This week was pretty productive for me and I feel I made decent progress despite a few set backs.My first set back was that I have not made a tree since first year and so did not know the most efficient way to do so and so decided to do some research and in the meantime work on the house part of the diorama.
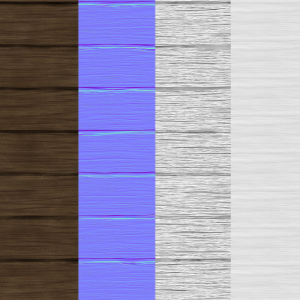
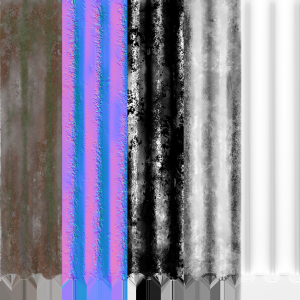
I started off by modelling the house in a basic way using my white box as a scale reference. From there I went on to make two textures- a wood material that I could re-use throughout the scene in different ways and also bake the planks down onto as seen below and the roof texture. I am hoping to hue shift parts of the roof panneling to break it up more in engine later on.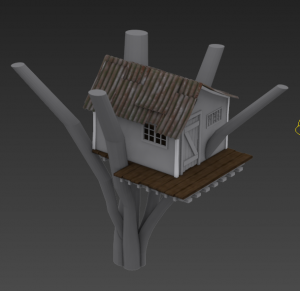
So unfortunately I started this week late due to Hospital appointments which wasn’t how I hoped to start FMP but I tried to make up for it with the rest of the time I had.
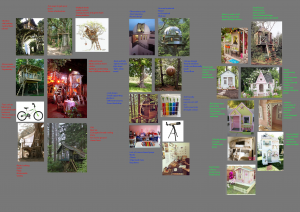
What I did do however was create a rough mood board for the projects so I knew the direction in which I was going for each diorama. This is what I produced:
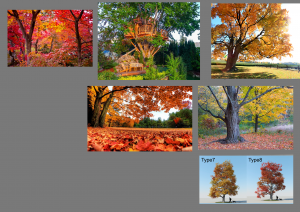
I also made a refence board for the tree for this first project.
In addition to this I made the block out for my first diorama- the adventurous kid. Which can be seen here:
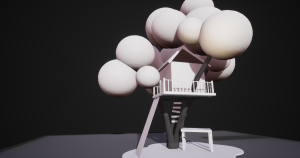
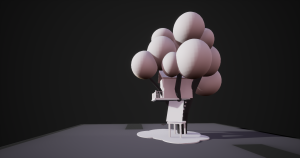
As you can see in this I also made a really basic custom sky box as I have decided I want the dioramas to have really simple backdrops. I have put it as grey for now but I will most likely change this once I have the colours of the screen on.
New term, new project.
Unfortunately I am starting a few days late due to health issues but I am here now and ready to go! Just waiting on my FMP idea to be approved and then I can go full steam ahead but until then I am going to do some concepting etc.
So this project I decided I wanted to try and push myself to do the diorama brief. However after last project I realized I needed to scale back completely and maybe not try and make all my own textures this time.
While trying to decide what to base the diorama on I referred back to briefs examples and noticed a cute fishing shack that I thought would be interesting while manageable and also give me a chance to try some shaders in engine.
From this I started doing my research and came up with this as my main point of reference as well as a few more images that can be seen here: https://www.pinterest.co.uk/honorwhat/fishing-shack-diorama/
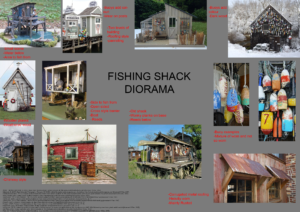
This is the stage I am at for my formative hand-in. Unfortunately I ran out of time and so there are a few things still unfinished such as the floor, harsh edges on the windows, lack of small props and possibly a feature piece. However I would like to come back and do these when I have a chance. Despite this I am actually please that I hand made a tiling texture that worked and looks good and also got back into using z-brush and creating stylised assets.
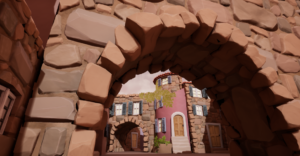
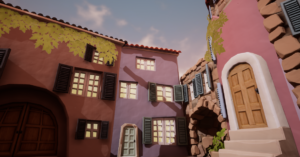
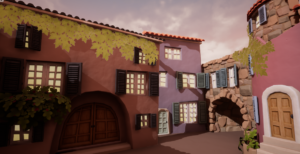
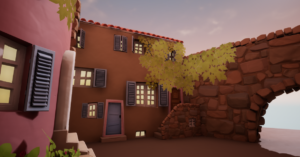
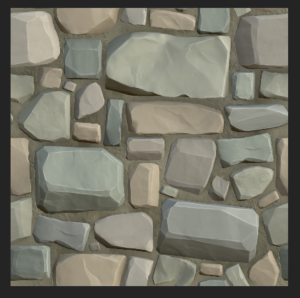
Today I spent the day building all the base elements for my level such as windows and doors and the buildings. In addition to this I planned out what texture spaces things would be using. At the moment I feel behind but I have looked at my time plan and I am only a day behind so I plan to just push this week to try and get ahead. Tomorrow I would like to start one of the tiling textures and possibly texture the doors.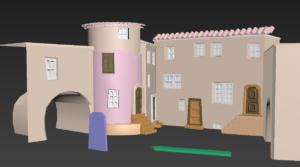
honor.dunham@hotmail.com
