blog

Week 18 – FMP

,

This week was a week of completing tasks I had been postponing for a while.

It started with completing the telescope model and baking and texturing it. While I am glad to have finished it I wish I had more time to texture it as I would have liked to added some logos and stickers to the side and take more time with the edge wear. However as it is just a small prop in the diorama I think spending any more time of it would not be smart.
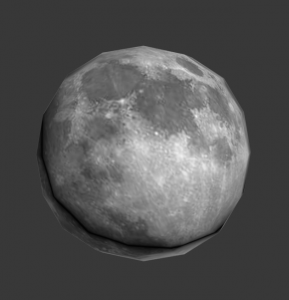
The next thing I made was a moon, this moon is really low poly as it is going to be placed far in the distance in the observatory diorama. To texture it I used an image from online and then cut out a part of it to suit what I needed. I think as it’s going to be seen from far away it works well and was an efficient way of texturing it.

reference: NASA (2018). [image] Available at: https://www.nasa.gov/feature/goddard/rare-full-moon-on-christmas-day [Accessed 14 May 2018].
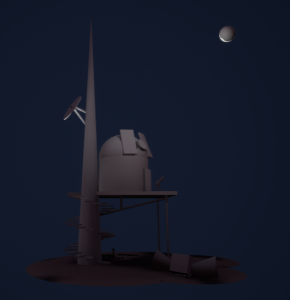
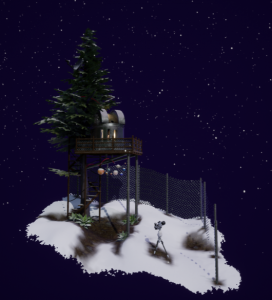
In addition to this I made some adjustments to the ground in the observatory diorama and I feel it is looking a lot better now. Being able to see the ground through the snow added some depth and interest to the ground. However I do feel the shadows are still too dark and harsh so I need to go in and adjust them. Im also thinking that the light inside the observatory should be red instead of yellow as it would make more sense and also help add some interest to the piece.
 

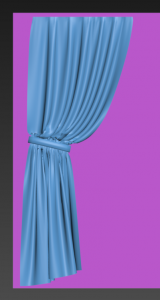
The next job I did was to make and bake some curtains for inside the girly treehouse. I used the cloth modifier to do this and I am actually really pleased with the outcome. From here I used substance painter to texture the baked down version and they add a bit more interest to the house. One thing I possibly would fix in the future is where the band bunches up the curtain as there are some wrong polys in there that make it look a bit too jagged.
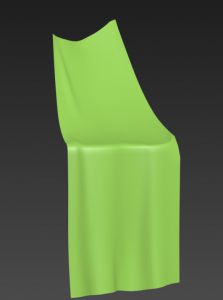
Keeping on the fabric theme I also finally made a high poly fabric piece for the adventure treehouse and baked it down. I made this again using the cloth modifier in 3DS Max and I am really happy with how it came out. 
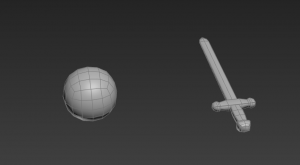
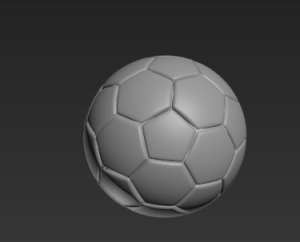
Next thing I did was make two small props for the adventure diorama in order to give it a bit more personality. I made a football (low poly above, high poly below) using modifiers in 3DS Max and then a wooden sword. I textured both in substance painter and really I wish I had had time to make more small props as I really enjoyed the process and I think they came out really well despite having a very small texture space each.   
 

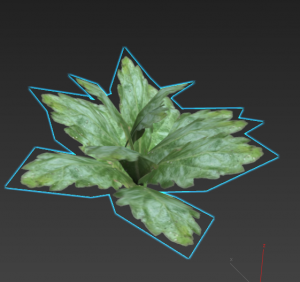
After this I spent some time making some foliage that I could incorporate into all the dioramas. I started with this small plant. I used a photo I personally took in my own garden and then edited it and used it to create alpha planes which I placed into the plant shape. My issue with this plant is that it is too light and washed out and so looks out of place when put into the dioramas so I need to go in and adjust the colours and lightness of it.
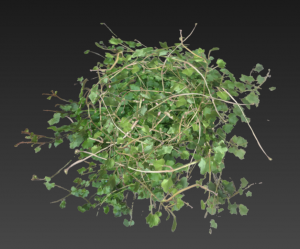
The other plant I made was this bush piece again from a photograph I personally took in my own garden. I made a base using one image and then made strands to give it some shape and interest. I think this is really effective and it works really well in engine to make it look 3D but not too dense and it also looks like the actual bush type.
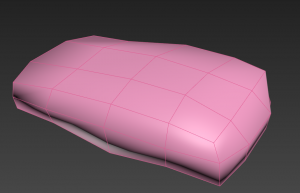
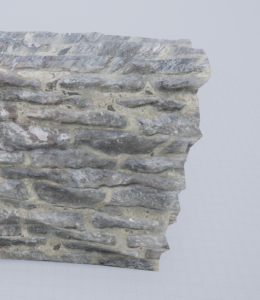
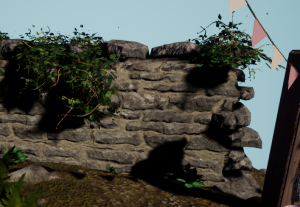
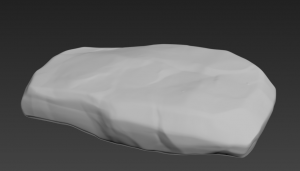
I also decided to solve the problem of the top of the wall by making stone slabs that I could place along the top of it. I made this using a low poly made in max and then Zrushed in the middle level detail. I decided not to sculpt the small detail as the texture I wanted to use has lots of small detail in it. I think it worked pretty well and doesn’t stick out in the scene which is a main thing as I needed it to blend in with the wall as much as it could.
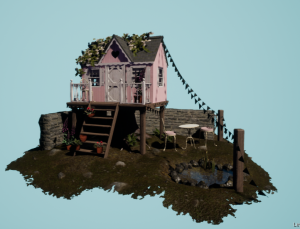
One more adjustment I made was to change the colour of the skybox in the girly diorama in order to make it look brighter and more colourful as well as lighten some of the shadows a bit. I think it looks a lot better as it adds more contrast to the piece.
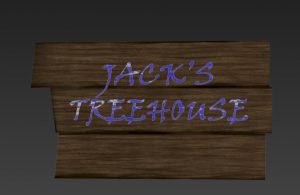
One of the final things I started working on was signs for the treehouses that I could also use as buttons to navigate between the dioramas. I wanted to make them pretty simple but also effective. This is a WIP of the adventure sign, I still need to go into the lettering and add opacity to the grey parts to make it look like worn off paint. I think while simple these signs work well to add a bit more personality to the scene.

 

Week 17 – FMP

,

This week brought big changes the science treehouse.

I started off by modelling a few props for the inside of the observatory as you can see inside it and It felt neglected. I just made some low poly simple assets because you cannot get up close to them and they are largely blocked by the telescope. However I think the add to the scene and are easily readable and effective in making it more of a scene than an empty shell of an object.

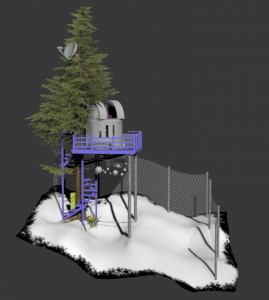
The largest change I made to the scene was to extend the ground. By doing so it balanced out the height of the tree a lot more and creates a better composition. I think this was a good idea (suggested by Heather) as it creates a much better flow for the eye and stops the tree from looking too out of place.

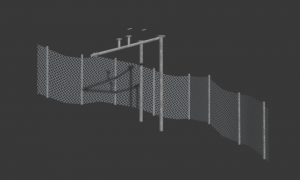
The last change was to add in a fence around the back. This was also to help with the flow of the eye and to create a bit more of a foreground, middle ground and background. It was simply made but really added to the scenes composition. If I were to go back to it I would create some breaks in the fence and more wear to it to make it look more placed within the scene and used.

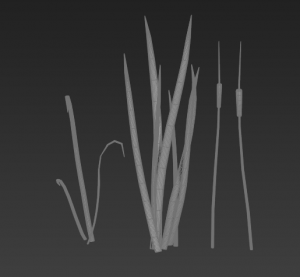
For the girly treehouse I realised that I needed something to break up the water and the stones so I made some high poly reeds and baked them to a plane and textured them and then added a simple wind to them. I think they look pretty realistic if not slightly too thick and rounded but they work in the scene to break that section up.

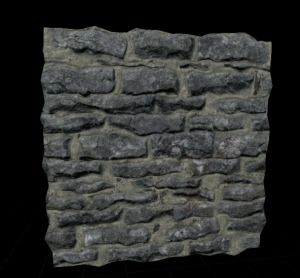
I also spent time making the wall texture in substance painter:

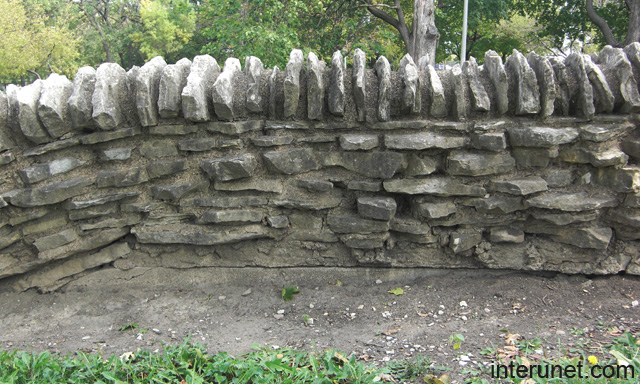
I am really proud of this rock texture and how quickly I was able to make it. I based it off this image:

reference: Interunet (2018). stone fence. [image] Available at: http://interunet.com/old-stone-fence-picture [Accessed 10 May 2018].

I made my rocks more saturated than in the reference image though as my dioramas lighting can make things look washed out so I wanted to compensate for that.

I have encountered  two problems with the wall however, one is that when I add a height map it makes the top section look jagged and wrong:

And whenever I model a top section like in the reference it looks too uniform and off so I need to find a way of combatting both those problems.

Week 16 – FMP

,

This week was full steam ahead to get the girly diorama closer to completion.

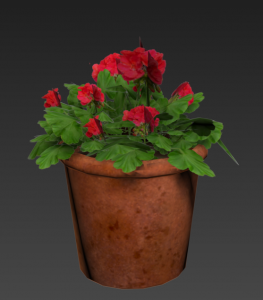
This started with making some plants for the plant pots. one plant I made was a geranium, I made this by photo bashing images together to get a leaf and flower combination I liked. I think this works pretty well given its simplicity and in the scene it works well. One thing I would like to do it to create different coloured versions of it. and it would have been nice to sculpt and bake it down but I just did not have the time too.

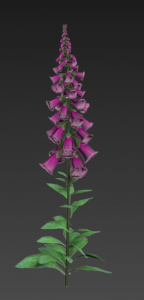
The second plant was a fox glove. The issue I came across with this is that I couldn’t make it using a alpha planes as I normally would so I took the time to model the flowers using a simple four sided cylinder. I think it looks really good even though it was hand painted for the texture. However I do think it could have been optimised better.

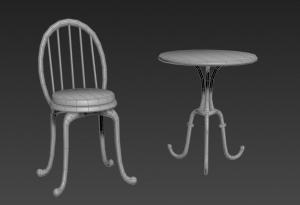
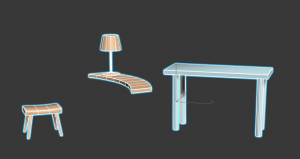
Next was a medium level prop of the table and chairs. I wanted to create some quaint but simple iron style furniture and so this is the low poly models for them. I wish I had more time to make them a bit more elaborate but given the time I think they are effective and work within the scene to add some scale. 

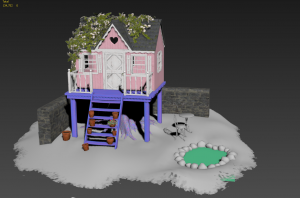
This is the point in which the scene is at in 3DS Max but within engine it looks more filled out but I think the changes I did make this week really helped to fill it out. 

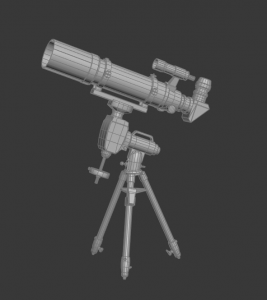
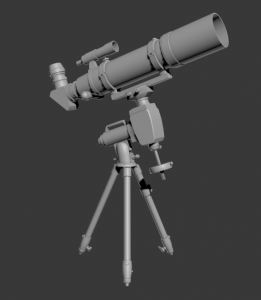
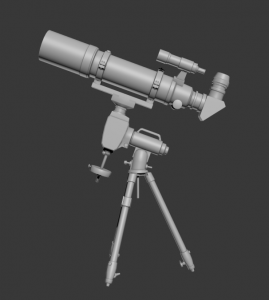
The other item I worked on was the telescope. I finished modelling it and started to unwrap it which became quite time consuming but I think it looks pretty good and close to the reference I had. Unfortunately there were some details I had to leave off due to time and poly constraints but in the future I would really like to create a really detailed high poly and bake all those details down.

reference: F1 telescopes (2018). [image] Available at: https://www.f1telescopes.co.uk/shop/telescopes/skywatcher-telescopes/skywatcher-startravel/sky-watcher-startravel-150-eq5-refractor-telescope/ [Accessed 12 May 2018].

Week 15 – FMP

,

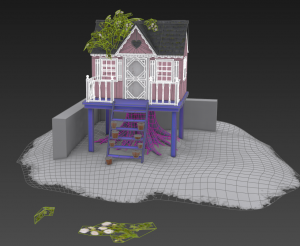
After my presentation last week I was alerted to the fact that I needed to get this diorama done quickly or cut it out of the project. I really do not want to cut it and so this week was all about pushing to get it done both quickly and well. I started off by texturing what I had already made mainly using adjusted textures from the previous dioramas. This meant that process was pretty quick and painless and I think the house looks pretty accurate to the reference image.

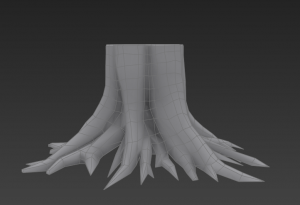
The other thing I focused on was getting the tree trunk under the house modelled and completed. I did this by sculpting the trunk in zbrush and then manually re-topping in topogun. I really like the outcome and I think it really looks like an old tree trunk. 

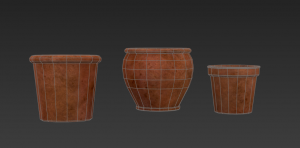
As I knew I wanted to make some plants for this scene I decided to make some simple pots, I made three variations. I like how they came out only problem with them is that there is a large texture seam at the back that I couldn’t paint out in painter due to it being from the base gradient in the material. However if placed smartly this shouldn’t be an issue.

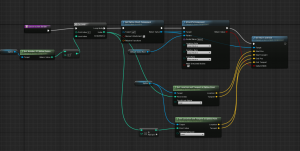
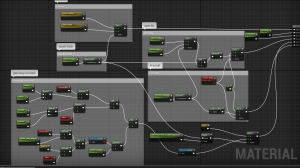
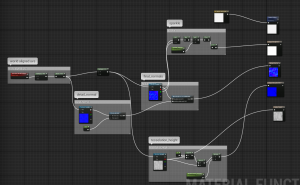
After this I did some engine work in which I created a spline system for some bunting, the set up can be seen here:

I think this was the most efficient way of doing this as I can now place it wherever I wish to.

In addition to this I made a water shader:

I don’t think it looks quite right yet though as previously I have only made water for much larger scenes and so the colouring needs to be worked on and the depth fade needs to be much weaker. But if I make these changes I think it will be effective.


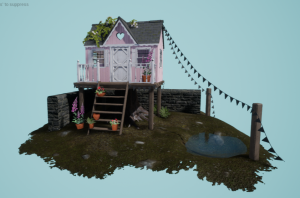
This is where the scene is at to at this point, I think its getting there. I want to darken the shadows on the house so possibly change the lighting angles in order to make it look a bit more realistic. I also think the colours of the plants need some adjusting as well as the being re-done due to it looking too uniform and not big enough. However I think the bunting works well to balance out the scene and the water adds another layer of interest.

Weeks 11- 13 (Easter) – FMP

,

Easter! what should have been lots of work but turned into a holiday.

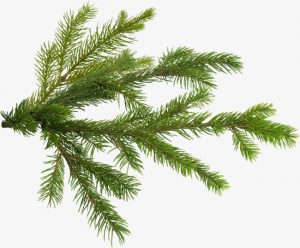
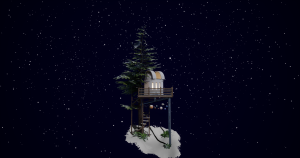
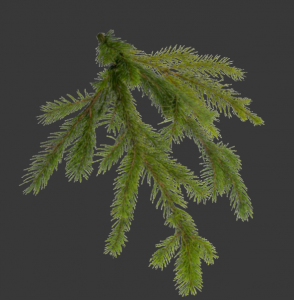
However I did get some important things done over the three weeks. The main thing I did was create and place all the leaves on the tree. I made the leaves by editing a photo and then putting it into b2m. I am pretty pleased with the outcome. This was the original image. I straitened it out using the puppet warp tool and then hue shifted the image.

.

pngtree (2018). pinetree. [image] Available at: https://pngtree.com/so/pine-branches [Accessed 1 Apr. 2018].


This was the result:

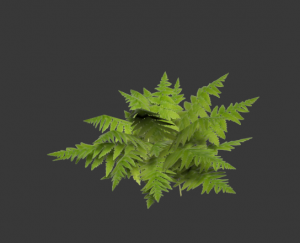
In addition to that I also made a few other assets such as the planets, satelitte dish, fern and telescope.

I made the fern using the same method as the leaves. This is the image I used

  humana-global (2018). [image] Available at: https://www.humana-global.org/pics-of-fern.html [Accessed 17 Apr. 2018].

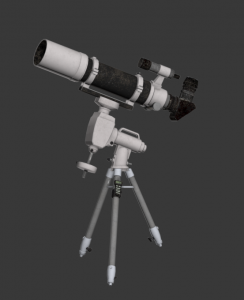
This is the telescope I have been working on. I really wanted to make this an asset I could show off individually so I have probably spent more time than necessary on it but I am happy with the outcome.


The final large thing I did was to create a snow shader and particle effect. I did this using Mike Picktons tutorial and then made the particle by myself. I am pretty happy with the outcome.


Week 10 -FMP

,

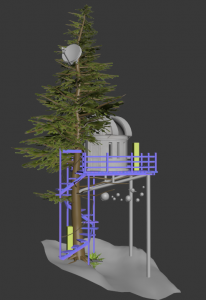
This week I felt a bit burnt out and so was not as productive as I would have liked but I feel like its getting somewhere. One of the things I did was work out how I wanted to make the leaves for this diorama. I decided to use b2m with an image I found online (will be referenced fully next week).

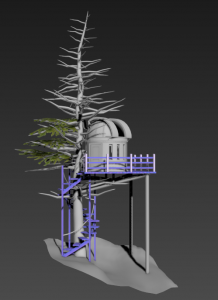
As well as this I made some changes to the platform by adding supports underneath and also adding the fence around it.

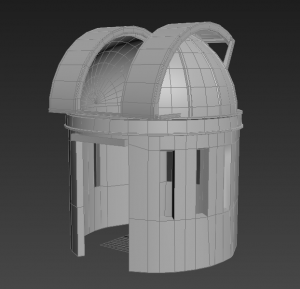
I also took the time to add details to the observatory and texture everything. I think its looking a lot better now.

Week 8 – FMP

,

Week 8 has rolled around and it was a busy one.

We had to do presentations this week and so part of my focus was on that however this did push me to tidy some of my work up and also to make sure I had some renders and things like that.

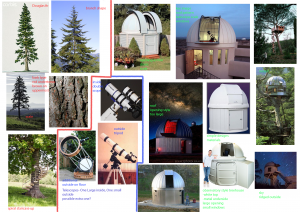
After the presentation I used the rest of the week to work on the science treehouse. I started off by making the mood board and whitebox. While this was quite rough it gave me the idea of where I wanted to go.

I decided to start with the observatory as I knew it would be made of difficult shapes.